WordPress On The Go

Bonjour loves!

It’s Serena Miller here, once again to show you all the tips and tricks of WordPress.

Today, I will be talking about the WordPress app.

Now, we all know what it’s like super busy, and not being able to reply to comments, and not being able to update because of school.

This can all be made simpler with the WordPress app, that is free!

When I heard of this WordPress app, I really thought it was going to be horrible,  and have a ton of glitches. However, when I downloaded it on my iPhone, and iPad, it was simply ah-mazing. 

I could have all my blogs signed in all at once, and read new posts instantley.

Easy Reading
If you have a WordPress.com account, use the Reader to follow your favorite blogs on WordPress.com and anywhere else on the web. You can Like or Reblog a post to your site in just one tap.

Effortless Comments

Moderate, edit, or reply to comments — it’s never been easier to stay in touch with your readers. Swipe a comment to reveal a quick moderation menu.

Overall, I really love this WordPress app, and if you have an iPhone, iPod touch, or iPad, I totally recommend downloading this app.

I hope you dolls all enjoyed this post, and will take into consideration getting this WordPress app!

Alpha In Training: 

The Official Kayla

Kisses, 

Serena Miller 

How to Make a Polaroid Frame on PicMonkey

Hello dolls!

It’s Serena Miller once again, here to teach all of you blogging beauties how to make a Polaroid Frame on PicMonkey!

Step 1: Pick your picture.

I will be using this picture to demonstrate:

large-3

Step 2: Go to PicMonkey and click “Edit a Photo”

baa

Step 3: Click the photo you will be using, and then click “Upload”!

ba3

Your screen should look like this!

Step 4: On the left sidebar, click the one that looks like a border, and it is under the butterfly.

baa2

Step 5: Click the option that says “Polaroid Frame”, and your picture should look like a Polaroid!

baa2

Step 6: Your picture’s colors should look a bit distorted, and you can easily change this by clicking where it says “Effect Fade” and dragging it all the way until it says 100%!

baa2

Step 7: Notice that there is a white patch behind your Polaroid frame, and you do not want this. Simply put a check where it says “Transparent background”.

baa2

Step 8: This step is optional, but I do recommend it. If you would like to add text, on your screen on the left, the sidebar where you clicked the border picture is where you should be looking. Click on the “Tt” option, which is above the butterfly I mentioned earlier.

baa2

Step 9: Click add text. A text box should appear, and you should position it on the little space you have on the bottom of the Polaroid frame.

baa2

Step 10: Pick whatever type of font you want, but some of the fonts you have to be a member to have. The fonts that have an orange crown you can not get. I am using La Belle Aurora for this tutorial.

baa2

Step 11: Type in whatever you want, and change your size, and change the color of the text as you please! Remember to hit save once your done!

large-3

The finished look!

I hope you all have enjoyed this tutorial!

Alpha In Training:

TheOfficialKayla! Go check out her ah-mazing blog!

Kisses,

Serena Miller  

How to Make a Stretch Header on FotoFlexer

Hello you wonderful bloggers! 

It’s Serena Miller here to show you how to master making stretch headers on FotoFlexer!

Let’s get started, shall we?

♡♡♡♡♡♡♡♡♡♡

First, you will have to look for a picture of your FC or a generic picture, and I usually get my images from WeHeartIt. The picture should have some sort of blurred background to it, since that is the easiest way to make a stretched header.

large

I’ll be using this picture for this demonstration. 

♡♡♡♡♡♡♡♡♡♡

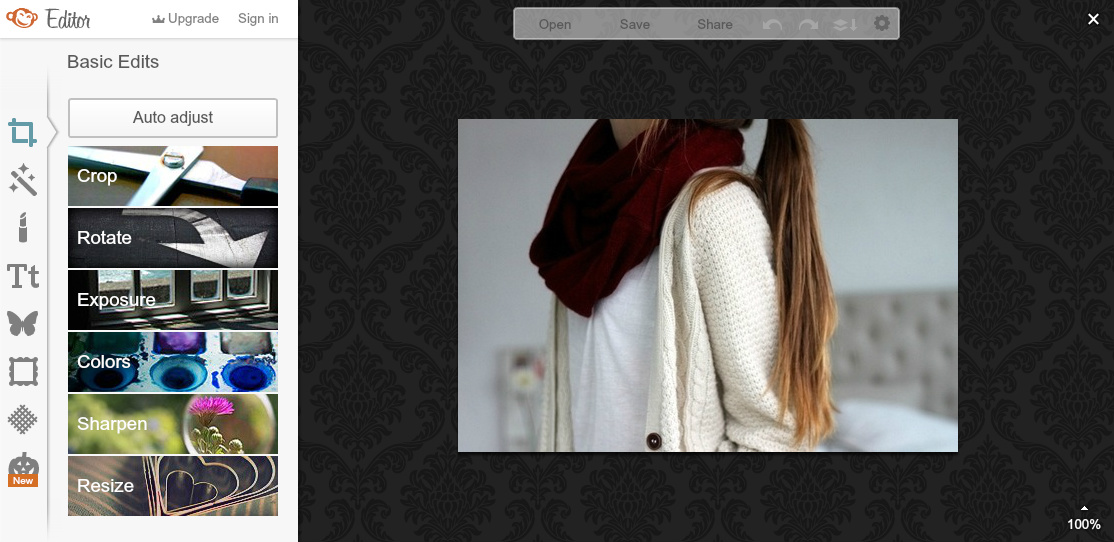
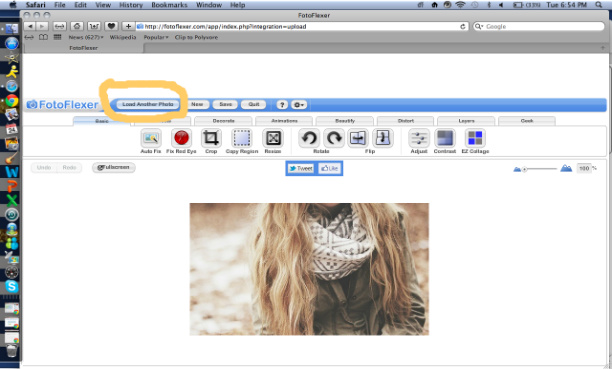
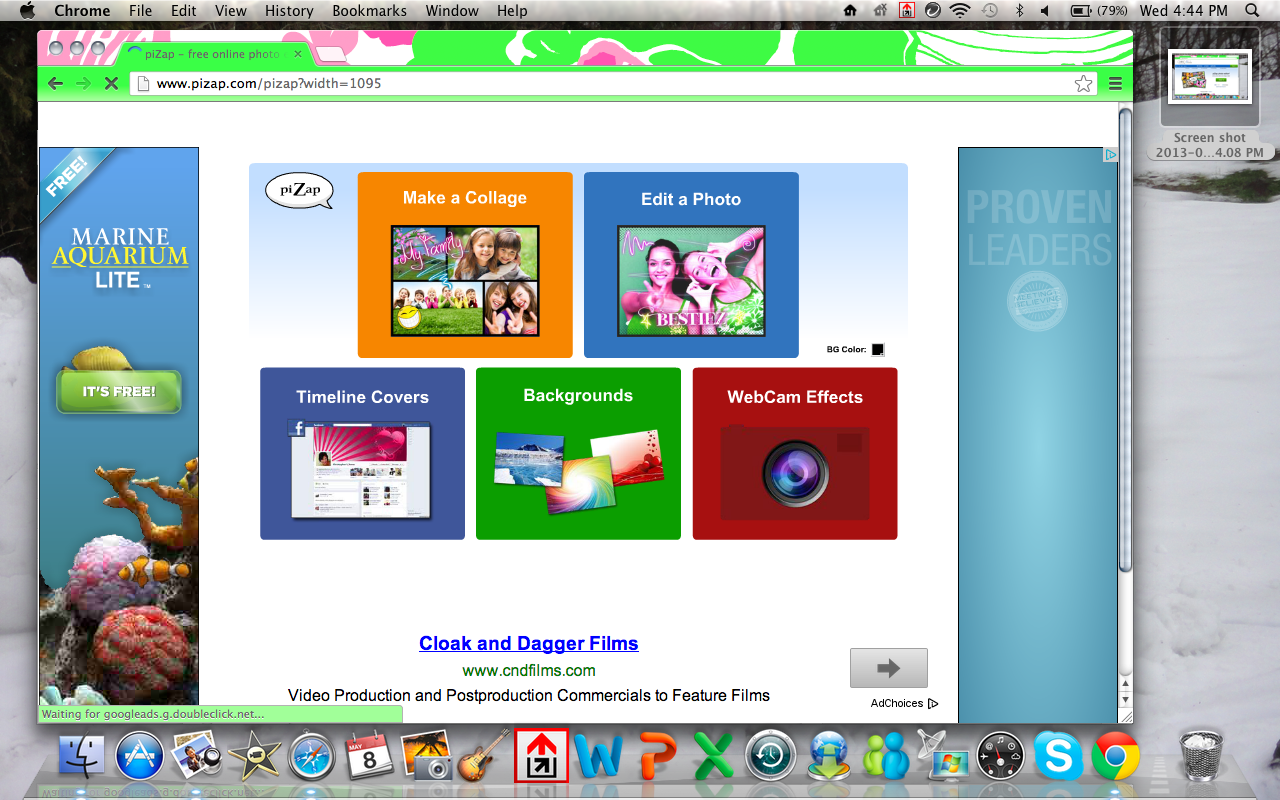
Step 1: Go to FotoFlexer.com, and once it loads, click upload photo, which is located on the upper right side. (Note: It will take a couple of seconds to load).

Screen shot 2013-09-24 at 6.43.07 PMYour screen should look like this. 

Step 2: Click “Upload” once again, and select the image you would like to use for your header. Then, click “Open” once you have selected the image.

Step 3: Once you have uploaded your picture, click “Load Another Photo” which is located on the upper right hand corner

baastep3

Step 4: Click “Edit From My Computer” and choose the same picture that you currently have, then click “Open”. 

Step 5: Now that you have a dotted background instead of a plain white background, you can delete the extra photo that you have just uploaded. 

Step 6: Resize the picture so that it looks like that it could fit your theme. 

Screen shot 2013-09-24 at 7.13.22 PM

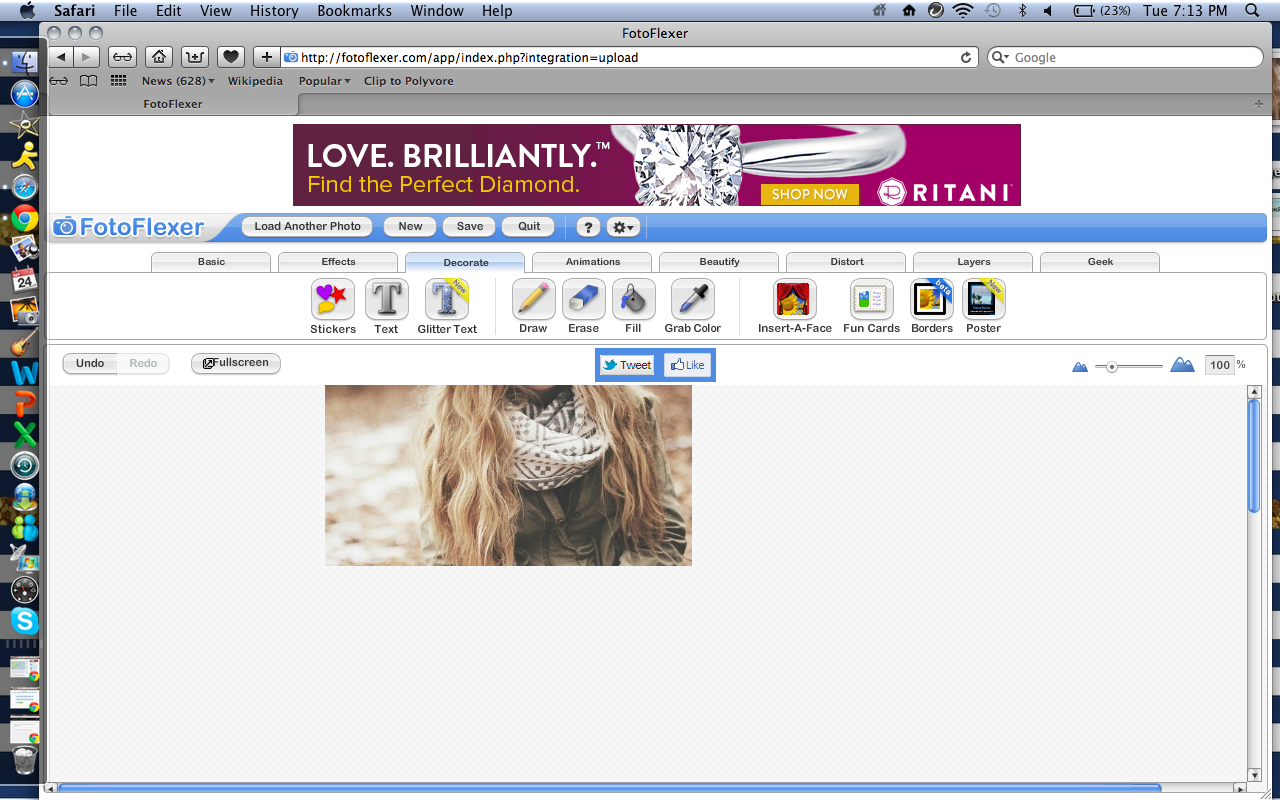
Your screen should look like this, now with the dotted background instead of the plain white background. 

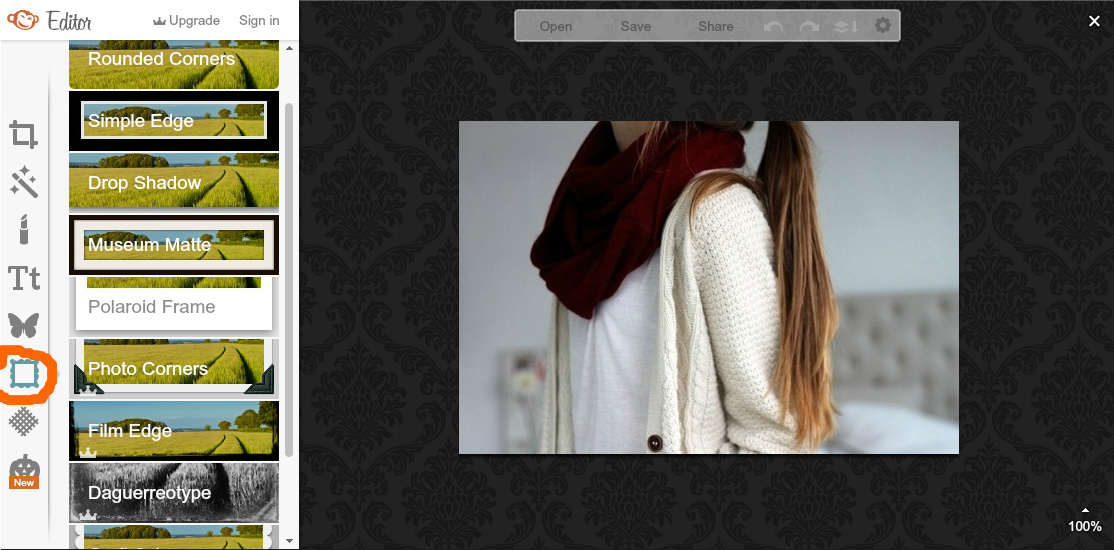
Step 7: You should see a whole selection of editing your picture, that is just below the “Load Another Photo” as mentioned above. If you are not already on the “Basic” section, then click “Basic”. 

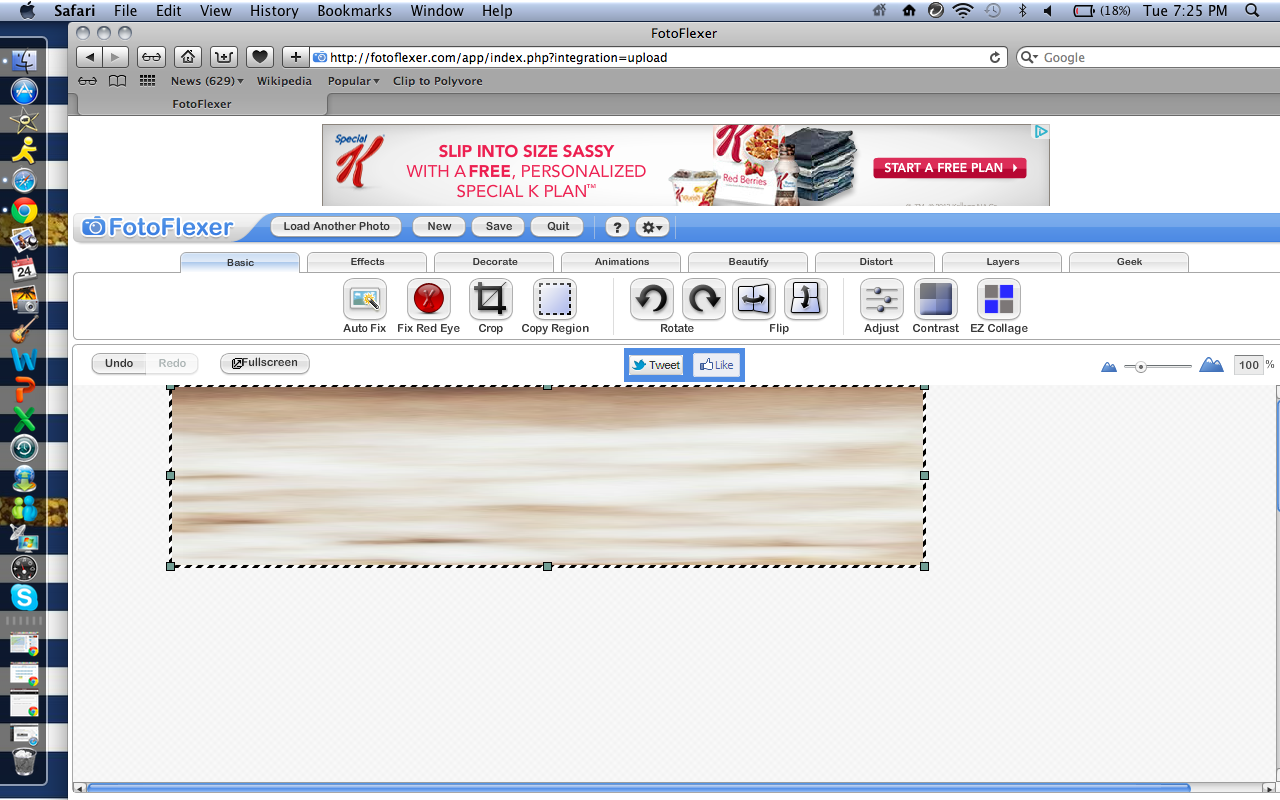
Step 8: Click “Copy Region”, and now, click at the upper left hand corner or upper right hand corner, whichever has more of a blurred background, and drag your mouse down. Make sure your little box that you have lines up on the top and bottom

Screen shot 2013-09-24 at 7.18.55 PM

Next, click “Copy Selected Area”. 

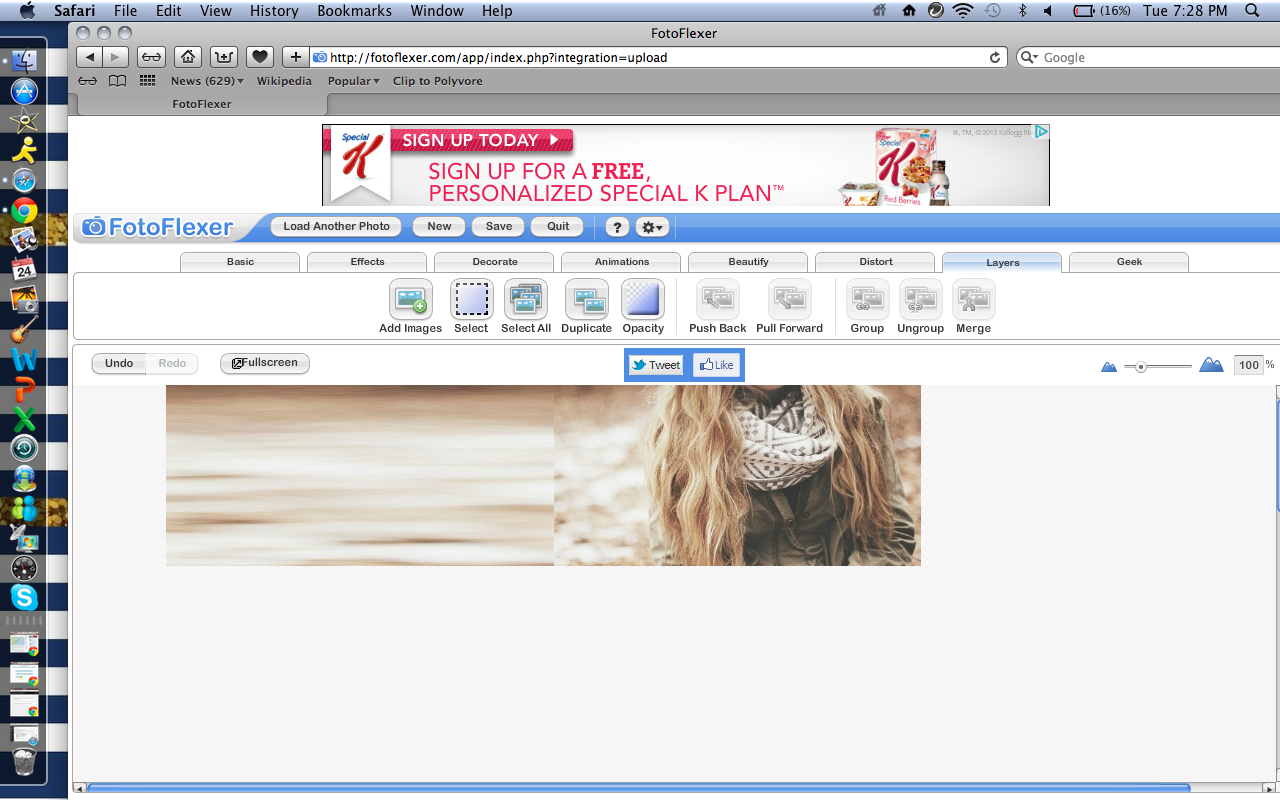
Step 9: Your screen should know show the piece that you copied from your photo, and your original picture. Now, click your image and drag it to the right a bit so you have room to stretch the copied piece. 

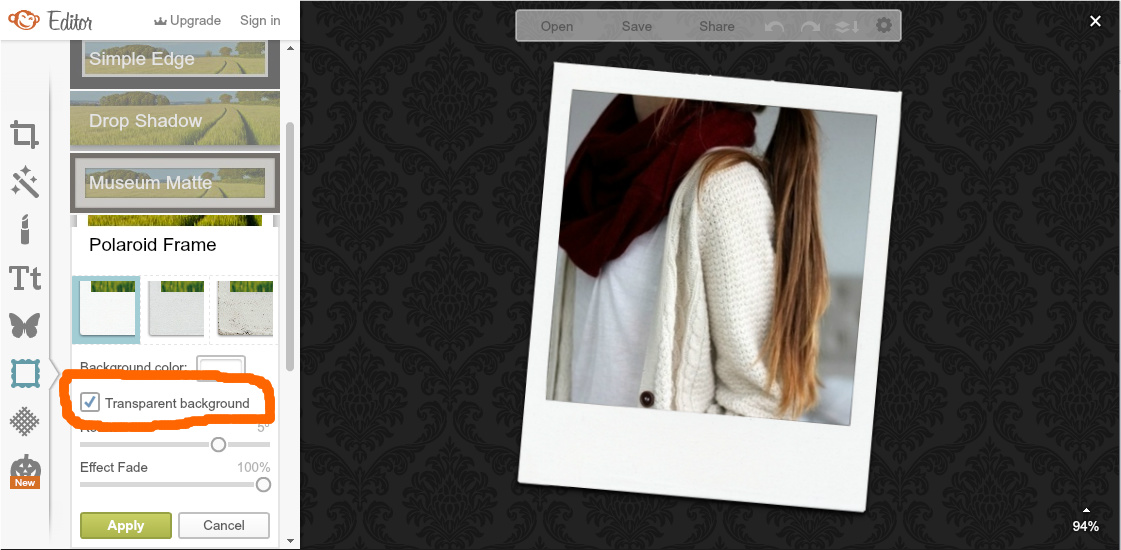
Step 10: Move the copied piece on top of the original picture, and stretch it over your original image using the side buttons on the copied piece. (Note: Once the copied piece is completely over your original image, stretch the piece a little more.)

Screen shot 2013-09-24 at 7.25.22 PM

Your screen should look like this!

Step 11: On the same bar that the “Basic” section is in, on the right side, click “Layers”, and then click “Push Back”.

Screen shot 2013-09-24 at 7.28.27 PM

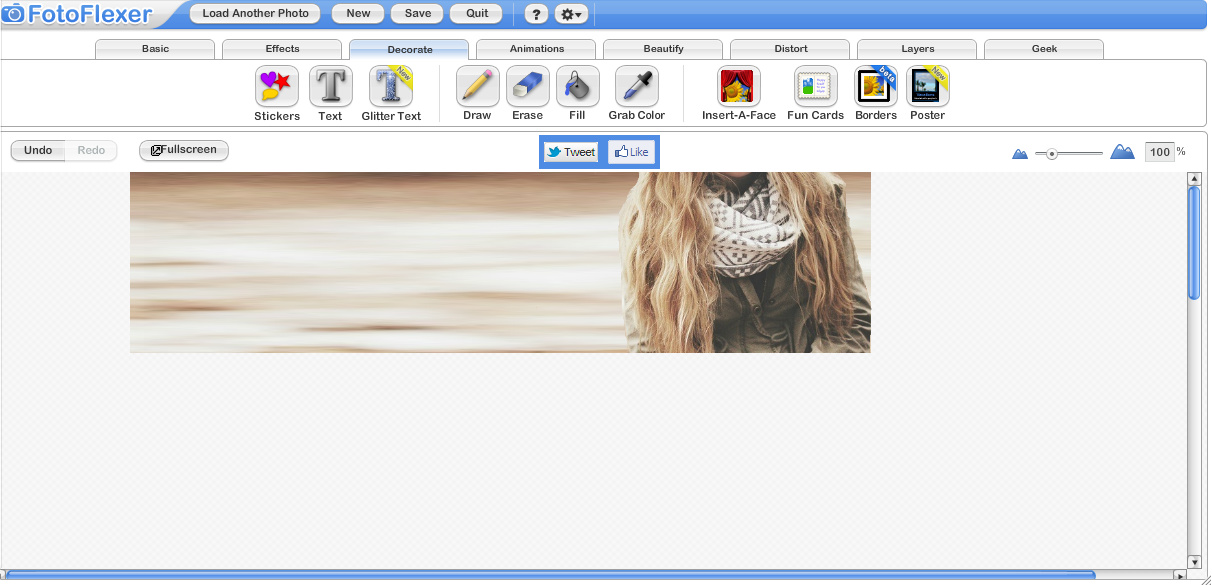
Your screen should now look like this, with your original image showing now. 

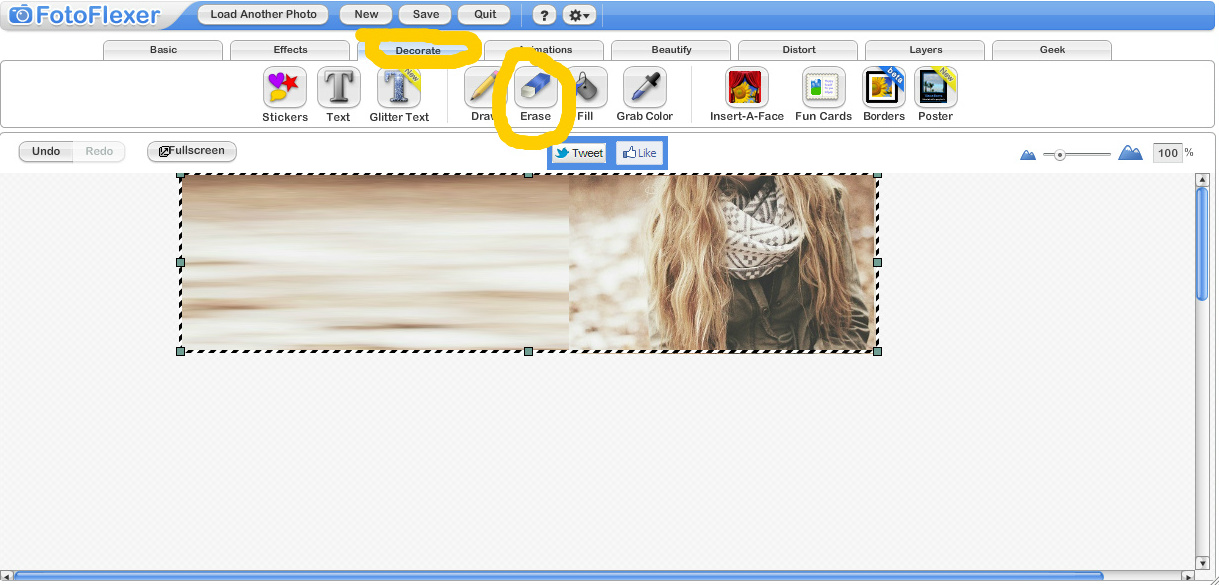
Step 12: On the same bar where the “Basic” section is, click “Decorate” and then click “Erase”

baa2

Step 13: After you have clicked on “Erase” you should get a black dot. If you would like to resize the dot, then a scale should have appeared when you clicked “Erase”. Start erasing the background of the original picture, and do NOT erase the blur you created. Also, try not to erase the image of your FC, or of your generic image. (Note: You should resize the black dot when you need to erase small spaces.)

baa3

Ta da! The finished header! The picture of your FC or a generic image should stand out from the blurred background!

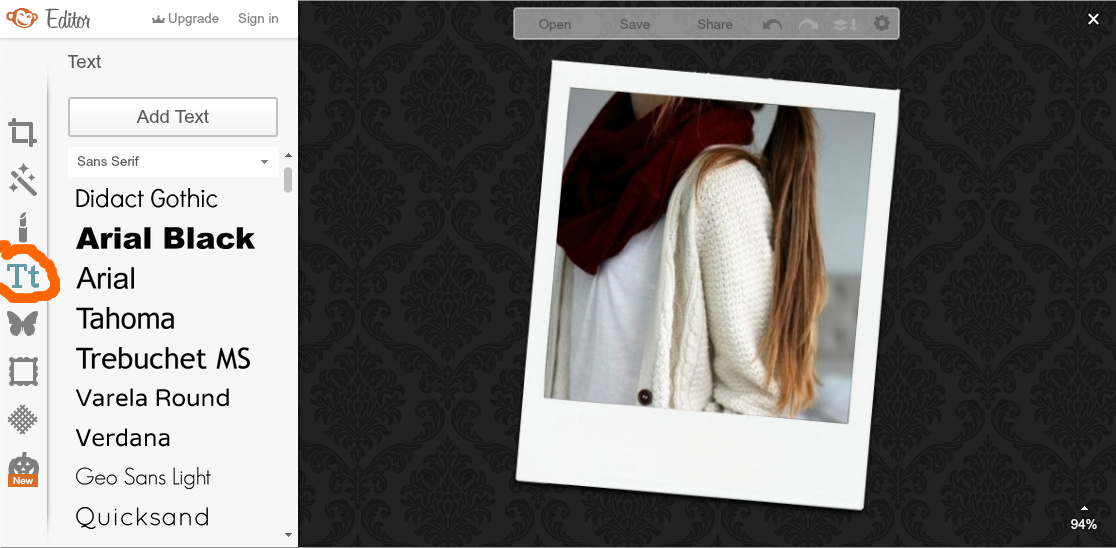
(Note: If you would like to add text, FotoFlexer has a lot of font choices! In this tutorial, I will be using “Discover Beauty”)

baatutorial

I hope you all try this tutorial for how to make stretch headers on FotoFlexer!

♡♡♡♡♡♡♡♡♡♡

Notices: 


Alpha In Training: AliciaRiveraXO


The results for the polls where you guys decided whether or not having MIA TCTC FC’s should be able to be claimed again are in…. And winning with 15 votes, you guys have decided to have MIA TCTC FC’s be claimable again! Below is a list of girls that the team of BAA girls have decided should be claimed again. 

Taylor Swift

Sarah Hyland
Miley Cyrus
Kylie Jenner
Dakota Fanning
Phoebe Tonkin
Acacia Clark
Claire Holt
Hayden Panettiere
Stefanie Scott
XX,
Serena Miller 


Pizap Tutorial

Bonjour dolls!

It’s Serena Miller here to show all you Alpha’s in training how to make a header using the site Pizap! I have used this site hundreds of times, and I recommend using this site! Although it is tough, you will be able to use it easily after these simple procedures!

Step 1: Pick your background!

*By picking your background I mean pick a colored background, I don’t recommend using anything that has designs on it, maybe a little bit but not a lot. Google has wonderful pictures of them*

I am going to use this picture to show you guys!

light pink backg

Step 2: Pick your picture 

*I suggest you pick a picture that is simple, but yet fabulous.*

I will be using this picture of my lovely face claim to demonstrate.

KTR_4795_large

Step 3: 

Get Started.

Go to Pizap

Click the start button!

Click the start button!

Click Edit Photo!

Click Edit Photo!

Step 4: 

Click on your background photo, and click upload.

Step 5: 

You will need to crop your background image, so it won’t be to big, and will fit the header limit you have. 

Click crop at the lower left-hand corner

Click crop at the lower left-hand corner

Make your background now look something like this after it's cropped. Hit crop once done.

Make your background now look something like this after it’s cropped. Hit crop once done.

It should now look something like this!

It should now look something like this!

Step 6: 

Upload your actual picture.

This slideshow requires JavaScript.

Step 7: Crop out your photo. 

*This is going to be a little tricky so pay attention to this part*

This slideshow requires JavaScript.

Step 8: 

Click on your picture that is enlarged and it should look like this:

Screen shot 2013-05-08 at 5.23.59 PM

Click on the lower right-hand corner to make the image smaller so it could fit in the background you cropped earlier. It should look like this:

Screen shot 2013-05-08 at 5.26.23 PM

*If you need to adjust it a little bit, go ahead and do so. Sometimes, it won’t perfectly fit.*

Step 9: 

Add text! I love Pizap and all it’s fonts that it offers!

This slideshow requires JavaScript.

Step 10: 

Save your header.

This slideshow requires JavaScript.

Ta-da! Your header is complete! Here is my finished header on Pizap!

PizapTutorial

Hope you all enjoyed this tutorial on Pizap and you learn how to use it!